


Amazon Linux 2023, the latest release of Amazon’s Linux distribution, brings with it enhanced features and improvements. However, one notable absence from the default package repositories is the Mosquitto MQTT broker. Mosquitto is a widely used and robust open-source MQTT broker that facilitates communication between IoT devices. In this article, we will guide you through the process of installing Mosquitto on Amazon Linux 2023 using the source code.
While some Linux distributions provide pre-built packages for Mosquitto, Amazon Linux 2023 does not include it by default in its repositories. This necessitates the installation from the source code, ensuring that you have the latest version and full control over the configuration options.
— Prerequisites —
Before proceeding with the Mosquitto installation, it is essential to confirm the prerequisites listed below.
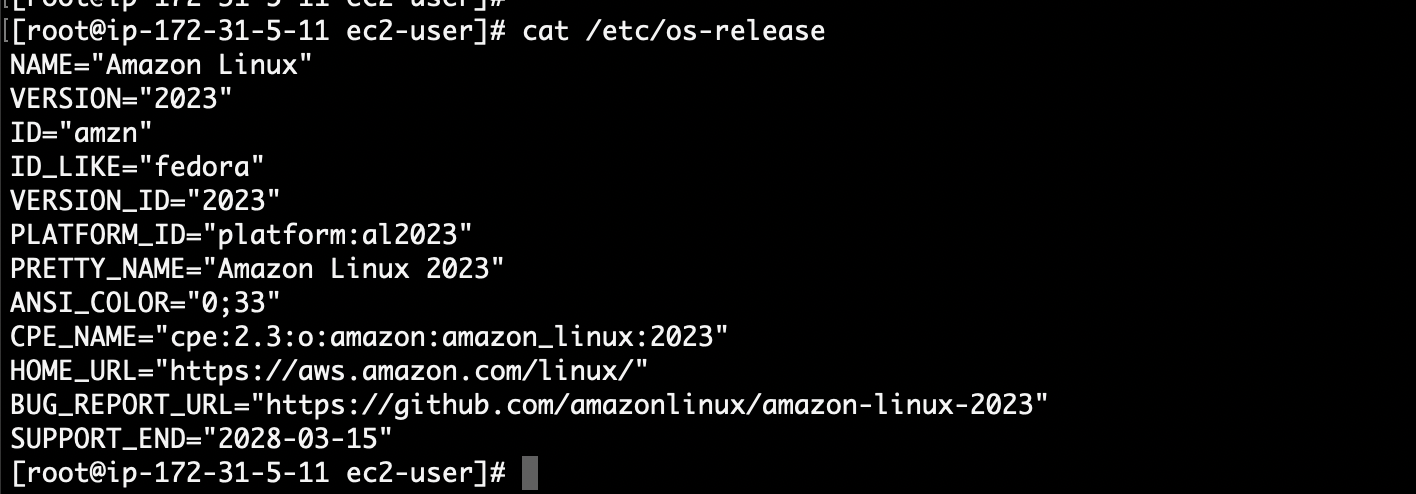
- Let’s first check our OS
# cat /etc/os-release
- Install the packages below
# sudo su
# yum install -y cmake openssl-devel libxslt
# yum groupinstall -y "Development Tools"
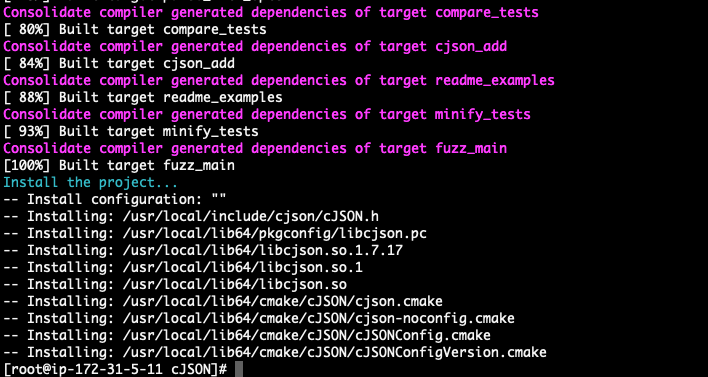
# git clone https://github.com/DaveGamble/cJSON.git
# cd cJSON
# cmake .
# make
# make install
Make sure that the cJSON is installed correctly
- Add the user that will be used by mosquitto
# useradd -r -U mosquitto
— Downloading Mosquitto Source Code —
# cd ..
# mkdir mosquitto && cd mosquitto
# wget https://mosquitto.org/files/source/mosquitto-2.0.18.tar.gz
# tar -xvzf mosquitto-2.0.18.tar.gz
# cd mosquitto-2.0.18
NOTE : If you intend to install the most recent version of Mosquitto, verify the latest release on the provided link. Afterwards, ensure to adjust the version in the
wgetcommand mentioned above accordingly.
https://mosquitto.org/files/source/
— Installing Mosquitto —
# cmake .
# make
# make install

\==> Mosquitto has been successfully installed! Let’s move on to the verification process .
— Starting and Verifying Mosquitto —
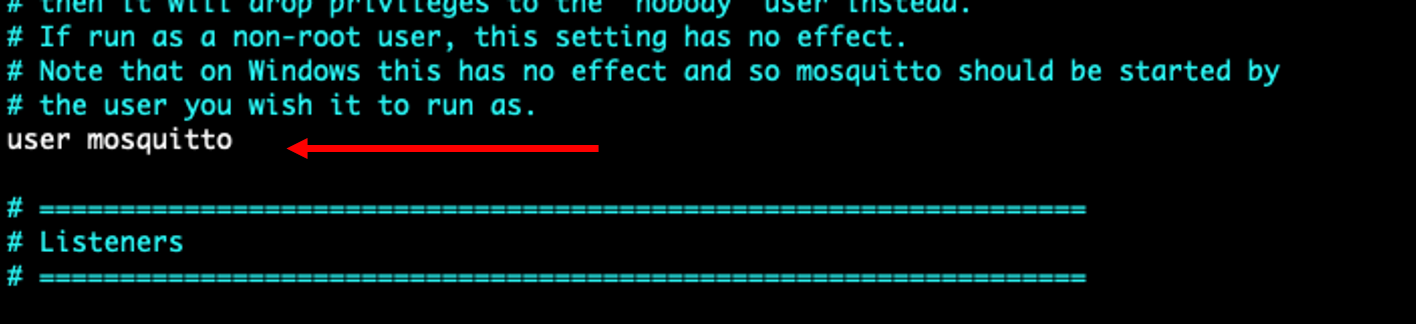
- Specify the desired user for running Mosquitto in the configuration file as follows:
# vi /usr/local/etc/mosquitto/mosquitto.conf
For our case, I’m using the user mosquitto created before
Uncomment the entry for user mosquitto
- Le’t start
mosquitto

\==> mosquitto is operating successfully on port 1883 with the latest version, 2.0.18, as of the article’s creation 😁.
If you found the post enjoyable, don’t hesitate to show your support by clapping or leaving a comment and following me 😁 — Thanks